
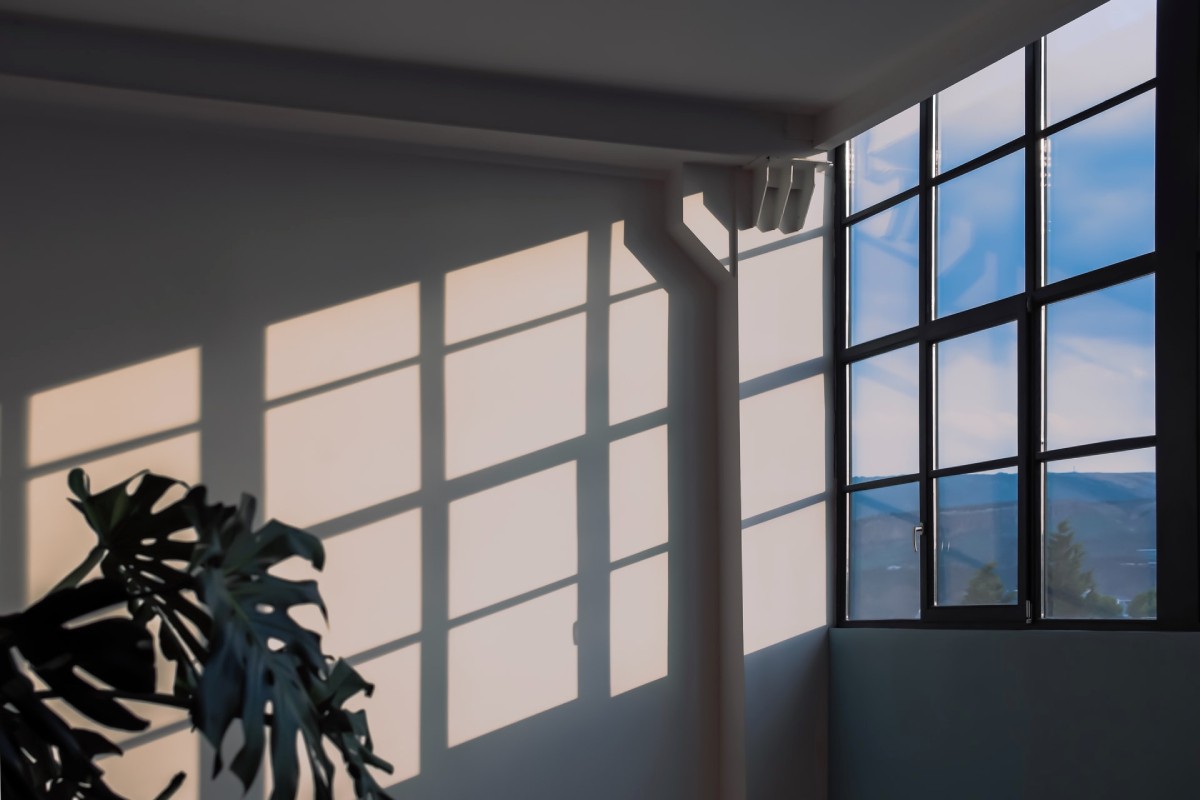
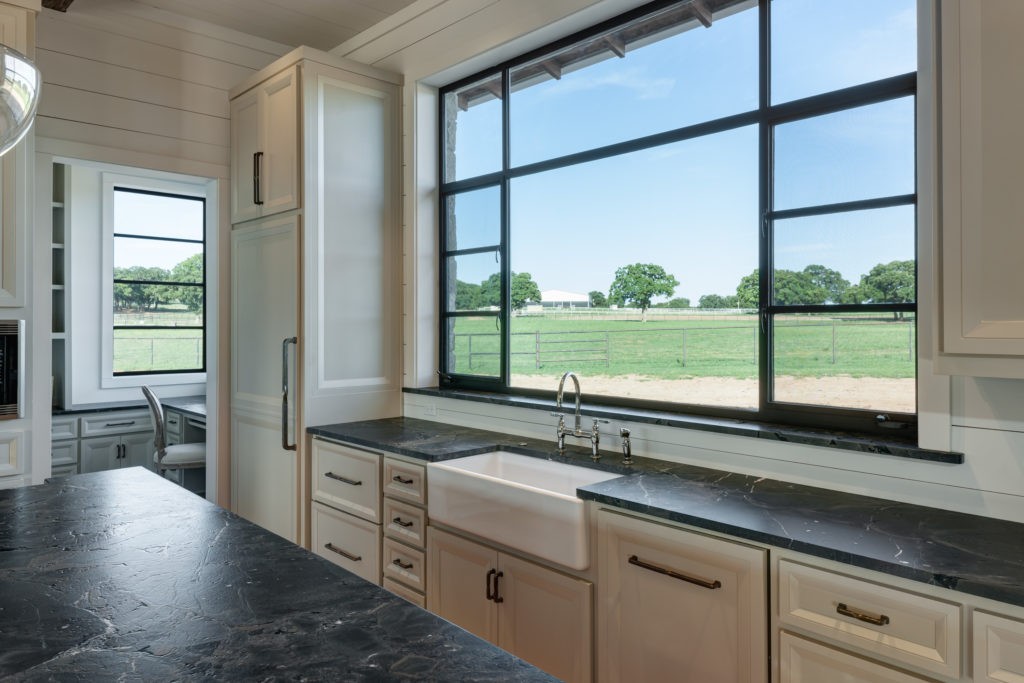
Properly installed and sealed glass within a steel window frame not only enhances the safety of your home but also helps reduce energy costs. However, the process of installing window glass can be intimidating for those without the right expertise, as improper installation can lead to damage to the steel frame, the glass itself, or even pose a risk to your safety.
Here’s a step-by-step guide on how to install window glass in a steel frame correctly:
Take measurements
Before installing the correct window glass, it’s essential to determine the appropriate size you need to cut. This can be easily achieved by measuring the interior dimensions of the steel frame. To account for potential expansion and prevent cracking in the future, make your cut ⅛ inch smaller than the measurements you took. Additionally, ensure that you purchase the same type of glass as the one you are replacing.
Prepare to install window glass
Once your glass is measured and cut, it’s time to proceed with the installation.
Gather all the materials you’ll need, including:
-
Thick safety gloves
-
Glazing putty
-
Putty knife
-
Hammer or rubber mallet
-
Painter’s tape/masking tape/duct tape
-
Protective eyewear
-
New spring clips
-
Cut glass
-
Chisel
-
Abrasives or sandpaper
-
Pliers
-
Heat gun
Keep in mind that installing window glass can be dangerous. Breaking and removing glass poses risks of cuts and can result in shards getting into your eyes if proper protective eyewear is not used. Be sure to wear goggles or safety glasses and heavy-duty gloves to avoid injuries throughout the process.
Remove putty
Next, you’ll need to remove the old glazing putty. Use a chisel to remove as much of it as possible, making the installation of the new window glass easier. If the putty proves stubborn and is difficult to remove, you can use a heat gun to warm it up before scraping it off.
Since glazing putty can become rock hard, continue to heat it and scrape until it loosens. Be cautious not to apply too much force, as this can damage the steel window frame. By repeating the heating technique, you should find that the putty becomes easier to remove.
Once you’ve removed all the putty, sand down the area to create a smooth surface.
Take out spring clips
Once everything is sanded down and all the putty is removed, the next step is to take out the spring clips. Depending on the type and brand of glass, you should find 2 to 4 spring clips.
Use the chisel to pry out the spring clips, then set them aside. Do not reinstall these clips once you’ve installed your new glass. Instead, make sure to use new spring clips specifically designed for the new glass. These spring clips can be easily found at any home improvement store.

Remove the glass
You must ensure you’re wearing heavy-duty gloves for this step.
First, take the duct or painter’s tape and create a criss-cross pattern across both sides of the glass. If you don’t have tape, have a friend hold a piece of plywood against one side of the glass to catch any broken shards.
Next, use a hammer or rubber mallet to gently tap the outer edges of the glass. This should break the glass enough for removal. Continue tapping until the glass is sufficiently broken. Typically, the glass won’t come out in a few large pieces; instead, you’ll find jagged shards remaining around the edges. Use your pliers to carefully pull these pieces out. If you chose the plywood option, have your friend tilt the plank back slowly to catch the broken glass safely.

Install window glass
First, take some of your glazing putty, ensuring it is safe for use with steel window frames. Roll the putty into a rope approximately ¼ inch thick and line the entire steel window frame with this putty rope. Use a putty knife to press down and smooth out the putty.
Next, firmly bed the glass into the glazing putty you just applied to the steel window frame. Insert the glass from the bottom and gently tilt it upward. If you have a friend assisting you with the installation, this step will be a bit easier.
Once you see that most of the putty has been squeezed out from the inside, the glass is properly bedded. Finally, take the new spring clips and place them in the same position as the old ones, ensuring they are spaced at least six inches apart.

Completing Your New Window Installation in a Steel Window Frame
The final step in installing window glass is to clean up any excess putty around the steel window frame. This ensures that the glass looks neat and tidy. However, it’s important to clean the window carefully to avoid disturbing the glazing putty.
Begin by tidying up any mess around the window, ensuring the frame is smooth and clean. If the glass has smudges or dirt, spray a glass cleaner to make it shine and appear crystal clear. Once you’ve finished, take a step back and admire your luxurious new glass window beautifully encased in its steel frame.